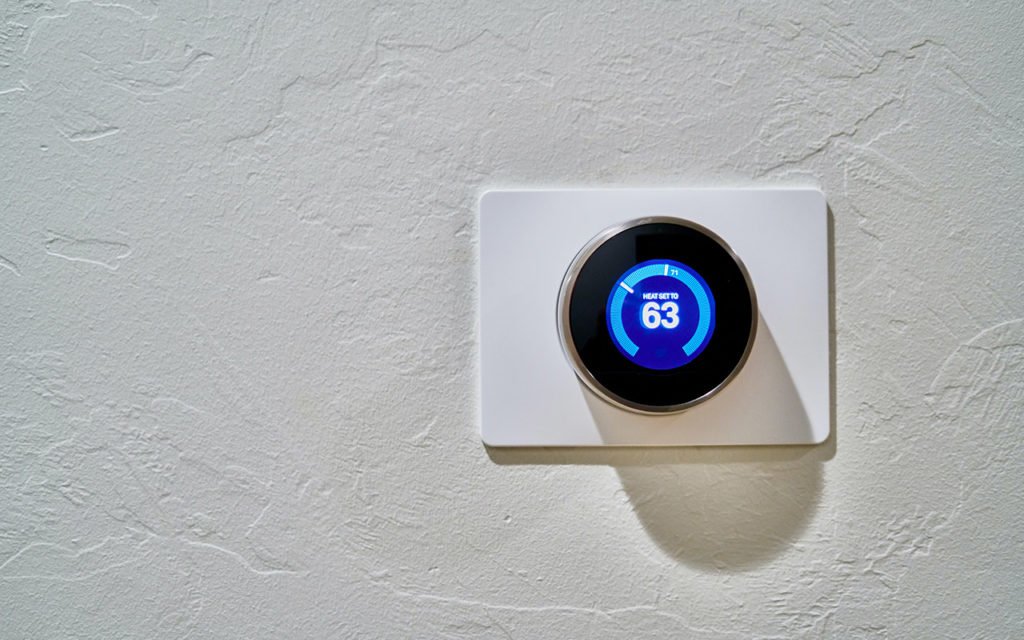
A smart thermostat, also known as a connected or communicating thermostat, allows a homeowner to manage automatic and programmable temperature settings based on heating and cooling needs, weather patterns, and even their daily schedule. If you are considering installing one yourself, here is a short breakdown of the steps you will need to take.
For all you DIY’ers out there, installing a smart thermostat will require a few basic tools:
The best benefit of smart thermostats, which likely convinced you to look into them in the first place, is their ability to save you money on energy costs. This is done through their utility in monitoring and controlling temperature remotely and the ability to adjust accordingly to specific users and environmental behaviors.
In the tech industry, a device considered ‘smart’ often refers to its ability for internet connectivity. Smart thermostats, however, go far beyond that with the ability to sense when a room is occupied and adjust accordingly, know when you are on your way home from work and start warming up your most-used rooms, and many more conveniences.
It is important to know that smart thermostats require WIFI for functionality. Furthermore, if you want to control it from your phone, you will need a mobile app and a corresponding smartphone.
Smart thermostats also tend to work more effectively when integrated with other smart home devices such as Google Home, Amazon Alexa, and others. If you already have a smart home device, consider getting a smart thermostat of the same brand for superior compatibility and seamless integration.
Before you even make a purchase, you should ensure that your HVAC system is compatible with a smart thermostat. Not all thermostats are compatible with existing wiring.
Turn off the power to the entire HVAC system and the old thermostat at the breaker panel. This will prevent you from accidentally shorting electrical components. Some old battery-based thermostats might still appear on even when the breaker is flipped – try testing some changes at the thermostat to double-check that everything is actually off.
Remove the faceplate of the old thermostat to get access to the base plate and wiring underneath. Take a photo or label which lines connect to which terminals to keep track of during the switch.
Use a screwdriver to remove the baseplate by unscrewing the anchoring screws holding it to the wall.
Smart thermostats usually need a C-Wire for continuous power, which is common in modern homes but not guaranteed. If your system already has one, you can skip this step. Otherwise, you will need to add your own.
Many smart thermostats come with an adapter to add a C-Wire, but they can also be purchased from a third party. These adapters come with specific instructions for installation which should be followed closely.
Using the new baseplate and a pencil, mark the screw holes onto your wall. Then drill new holes into your wall where you marked for accurate mounting locations.
Once you have mounted the new baseplate, reconnect the wires you labeled/ took a picture of to the correct terminals.
With the wiring connected properly underneath, the new faceplate should be able to snap into place. Consult the instructions of the new thermostat if it does not attach easily.
Your HVAC and power to the thermostat can now be turned back on. When powering up for the first time, the smart thermostat will likely have some steps or prompts for calibration and activation. Connect the smart thermostat to your WIFI, download the corresponding smartphone application, and start saving energy!
If you are not comfortable or experienced dealing with wiring, we recommend consulting an electrician or HVAC professional to help you with the installation.
Are you in need of help or advice? If you are in the Central Pennsylvania area – call WM Buffington! Our team of trained professionals can help through every step in the process.


